
Hip and Spine Positioning for a Straight Handstand - Handstand form 102
In this piece we will cover hip and spine positioning for a straight handstand. In the quest for achieving a perfect handstand, there are different priority levels of handstand form cues that we can look at, focus on, train, and improve on. Once we understand and have worked on all of the parts, we can start to put them together. Over a series of videos I’ve gone over the form cues involved in a handstand, breaking the form cues down into 5 priority levels. We’ve now covered getting comfortable upside down, using your hands to balance as well as elbow and head positioning, and shoulder positioning.

To have a clearer idea of the ideas discussed in this piece, check out the youtube video here.
In this final piece to the puzzle, we will go over how to achieve the correct hip and spine positioning. You can’t really work on one while ignoring the other, so this is why the two areas are paired.
If you recall from my shoulder positioning video, I referred to shoulder flexion as the bottleneck of handstand form cues. If we can’t achieve proper shoulder flexion, we will not be able to get the rest of our body in a proper line.
The reason for this is, if our shoulders are not flexed, there will be an angle created.

if your shoulders are not properly flexed, there will be an angle created.
Because of this angle that’s created from our shoulders not being properly flexed, our body will adjust in one of the following ways:
We will pike

We will banana

We will planche

Although doing a handstand with a pike, banana, or planche isn’t perfect, I cannot stress enough that you should not stress or worry too much about it. If this is something that happens when you handstand, you simply need to continue to work on your shoulder flexion on the side, while continuing other parts of your handstand training alongside it.

Some examples of helpful exercises for improving your shoulder flexibility/mobility.
Now, suppose you actually are flexing your shoulders properly, but are somehow still banana’ing - yes, we’re gonna call it that here - or you’re still piking, or planching. Then, it might be the case that you need to improve your awareness in your pelvis.
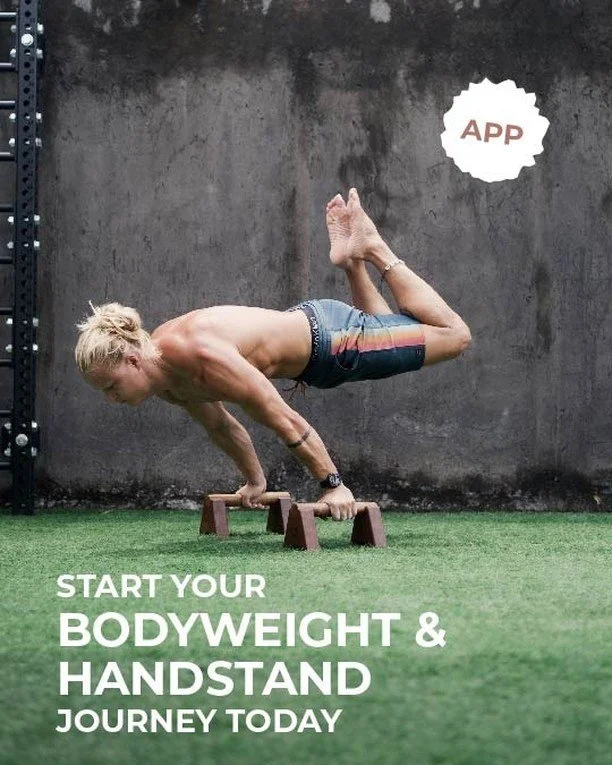
Now is as a good a time as ever to head over to my app and claim your free week. 7 days of improvement starts.. now!
The first thing you need to be aware of is hip positioning. Your pelvis should be posteriorly tilted. A posteriorly tilted pelvis, perhaps counter-intuitively, is a pelvis that’s tilted forward, like this:


Take a look at this clip to get a better idea of how to posteriorly tilt your pelvis
Many people think posteriorly tilting your pelvis requires a lot of core strength, but it really doesn’t. What’s most important is awareness.

Check it out to learn how to create pelvic awareness :)
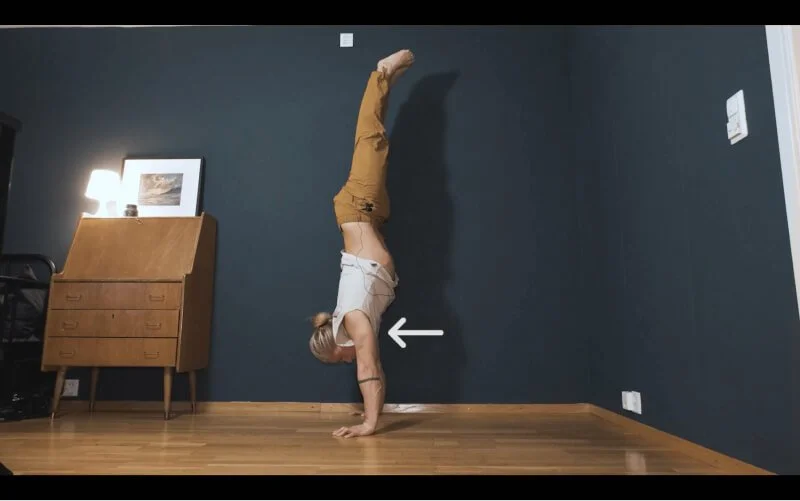
This brings us back to a handstand’s best friend: the wall. The place where you will gain awareness in your pelvis is on the wall, while performing a wall-assisted handstand.

The wall is your best friend, always remember that! Use it throughout your entire handstand journey. In this case, use it to gain awareness in your pelvis.
What you want to do is, get yourself pretty close to the wall, with your shoulders in place like they should be. Then, we move our pelvis around! Move it around, and start to learn how to gain control of it.
We can experiment with this by doing repetitions of it, or by doing timed sets. For example, 5 sets x 30 seconds on the wall, and what you should be doing is constantly maneuvering your pelvis to try to gain awareness in it.
When you’re ready for it, you can start playing around with your pelvic awareness while doing a freestanding handstand. One thing I find helpful is to film yourself while you’re messing around, and match up what position looks best , to how it feels. Then you can dial in always getting that feeling, where you know you’re in a good line.
Check out this clip to see what you should strive for in terms of pelvic/spinal awareness while in the handstand.
Perhaps at the beginning, for posteriorly tilting your pelvis in a handstand, it might help to think that you are tightening your glutes. Although it may help, it is not necessary. You can tilt your pelvis without having to tighten anything at all.
Once your shoulder positioning is dialed in - shoulder flexion, elevation, and internal rotation - and you are able to control your hips, the rest of your handstand should fall into place. And then, all that remains is the cherry on top: the aesthetically pleasing pointed toes :).
Since this is the final installment of the series covering form cue priorities for the handstand, let’s go over what we’ve learned.
How do I do a straight handstand? You need to:
Learn how to balance
Learn the correct shoulder positioning, i.e. shoulder flexion, elevation, and internal rotation
Work on your hip and spine positioning - gain pelvic awareness.

Things to remember when striving towards a straight handstand.
In my opinion, the most crucial aspect to achieving a handstand with a straight line is to achieve the correct shoulder positioning. After that, executing “the perfect handstand” is just a matter of repetition and practice.
And that’s it!
If you have any questions or comments, or a request for something you’d like me to do a tutorial or guide on, please hit me up! And if you appreciate the content, a like is always appreciated back :)
See you next time