How to do a Handstand? Learn How to Use Your Hands!!
There are so many damn form cues to keep in mind when learning the handstand. In my most recent post about how to prioritize these form cues, I went over the importance of using your hands. It’s intuitive, yet perhaps not stressed enough or thought about enough when you begin your training, that you need to use your hands to maintain balance in a handstand.

Check out the full video tutorial on how to learn to balance your handstand
Of all of these: getting comfortable upside down , learning to headstand; learning to fall; learning to do wall-assisted handstands, and learning to use your hands - the most important is the last one, learning to use your hands.
So, I’d like to introduce some drills and tips for how to learn to use your hands. Let’s get into it.
How are you supposed to use your hands to help balance with a handstand?
Think about being on your feet. Even better, after reading this, stand up and see for yourself. Stand in front of a couch or your bed, facing it. If you lean forward and put no weight into your toes or your forefoot, you simply keep leaning and fall forward onto the couch/bed. However, if you grip with your toes and forefoot, you can stop your body from continuing forward, and bring yourself back to standing on your full foot.

You can get a feel for how you’re supposed to use your fingers to maintain balance in a handstand, by leaning forward standing on your feet! The same principal applies. Just like you’d squeeze your toes to stop yourself from falling forward, you squeeze your fingers while in the handstand.
The same applies for when you are on your hands. If your body starts leaning too far forward(in the direction your fingers are pointing) while on your hands, you need to push into the ground with your fingers to adjust your body back to a stable position.

Squeeze your fingers into the ground to stop yourself from falling forward.
On the other hand, if your body starts falling backwards, (i.e. if your back is facing the wall, your feet are coming down away from the wall) you need to push in with your hand heels (the hand heel is the lower part of your palm).
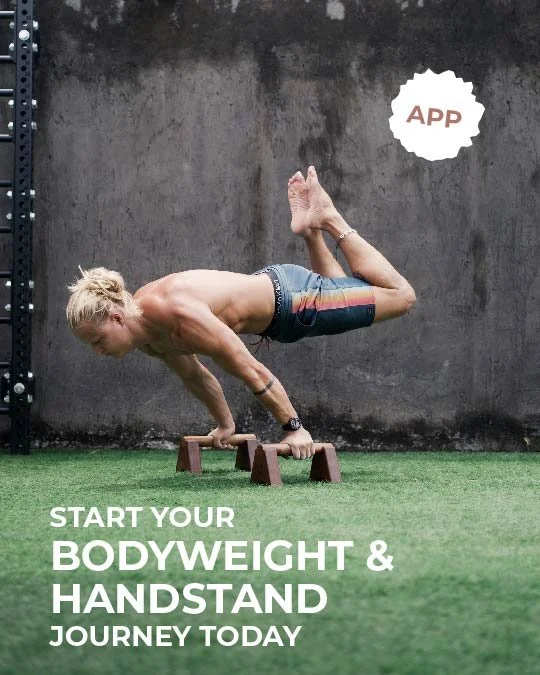
True Blue Handstand Program
Remember, the most important thing to learn in doing a handstand, is to use your hands. A close second, however, is having a great coach to help guide you :). I’ve got 3 dedicated handstand programs on my app, where each day’s exercise session is already set up for you. Practical tips, doing the right exercises, and consistency will get you there. If you follow the program and put in the time, achieving a handstand is inevitable.

A quick recap on what you want to keep in mind regarding using your hands to balance in the handstand
Drills for Handstand Finger Use
Here are some specific drills/exercises you can do to work specifically on using your fingers to squeeze and grip the ground so that you don’t fall forward while in a handstand.
‘Crow Rocks’
The easiest way to first grasp the concept of using our fingers to balance our handstand is by squatting down into a crow-like position, and just leaning forward onto your hands, and then pushing with the fingers so we come back to our feet. Doing this will give us a feel for how to manipulate your center of gravity by pushing with your fingers.
Just rock back and forth from the crouched position, to having weight on your hands, to pushing in with your fingers to bring your weight back.

Pictured here are the crow rocks. They are a good exercise for building strength in your hands and for getting a feel of how to make adjustments while in a balanced position.
Keep in mind that, while in the crow position we have a very low center of gravity, making it much easier to balance. To apply this concept while in a handstand position will of course be more difficult, but the principal is the exact same. In a handstand, you use your fingers to push into the ground and bring your body back, if it is leaning too far forward.

Take a look to see how to train/drill your hands to balance in the handstand
To apply this concept to our handstand, we start with the wall-assisted handstand. I want you to really focus on your fingers while in the handstand. I don’t want you to simply enter a wall-assisted handstand and try to balance. I want you to enter a wall assisted handstand and isolate the technique, consciously thinking about using your fingers to adjust your body position.
Wall push-outs/ Wall push-ins
Instead of trying to use your feet to get out from the wall into a free handstand position, I want you to mindfully use your hands to bring your feet out from the wall. This can be done while facing the wall or with your back against the wall. You will need to use your hand heel to push your body in one direction, and your fingers to push it in the other. If your back is to the wall, use your fingers to push yourself off the wall, and use your hand heel to push yourself back in. Do this mindfully to gain an awareness of your hands that can later be applied to your freestanding handstand.

If your back is to the wall, use your fingers to push yourself off the wall, and use your hand heel to push yourself back in.
In my app The Movement Trybe, the Handstand 1 program is specifically for getting comfortable upside down - learning to fall, learning to do wall assisted handstands, and gaining the strength and awareness needed at the beginning of your journey.
The Handstand 2 Program is specifically for learning how to balance, and gaining your first 10 second handstand. So, feel free to check that out if you’d like here :).

A quick glimpse at what the app looks like.
If you’re reading this and are relatively early on in your handstand journey, another thing to keep in mind is the importance of maintaining wrist health and wrist strength throughout your handstand journey. Wrist push ups, etc will help you not only get healthier wrists and reduce your risk of injury, but you will also gain more strength to perform your handstand corrections, such as the ones mentioned in this post. If you’d like to learn a bit more on wrists health/strength, check this video out where I go over exercises to keep your wrists healthy and strong.

Wrist push ups will help you not only get healthier wrists and reduce your risk of injury, but you will also gain more strength to perform your handstand corrections
Let’s quickly summarize:)
How to avoid falling forward when doing the handstand
Think about being on your feet. If you lean forward on your feet and don’t put any pressure into your forefoot, you will fall straight over. To prevent yourself from falling forward on your feet, you grip the ground and push with your forefoot. The same applies to when you’re on your hands.
Remember to squeeze your fingers into the ground
Get a feel for using your fingers with ‘crow rocks’
Practice wall push-ins/ push-outs. If your back is facing the wall, for example, you would push in with your fingers to get your feet to come off the wall, rather than pushing off the wall with your feet.
So, there are a few tips and drills for you to learn how to use your fingers to maintain balance while in the handstand position. I hope they help! Next week, I will upload another video which talks more specifically about not falling the other way, and using your hand heels. So, keep an eye out for that one. Until then, practice your ‘crow rocks’ and wall push-outs, and remember to use your fingers! Thanks and take care movers :)
Share Post! :)
Leave a Comment :)